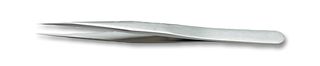
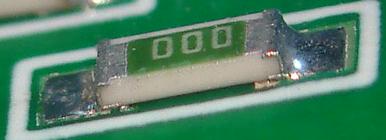
Some kits need to use SMT components. When needed we always try to use 0805 or larger footprints for resistors, capacitors and LED as these are generally easy for everyone to solder. With the 0805 (and larger) and SOIC (and larger) SMD components you will not have any real soldering problems. It is just a matter of developing a good technique and having the right tools. You should get yourself a pair of fine nose tweezers (ones that go to a sharp point and the tips meet cleanly and firmly . When soldering SMT components you should use a fine gauge solder (less than 0.7mm is recommended) and a soldering iron with a fine tip. SMT Resistors and Capacitors
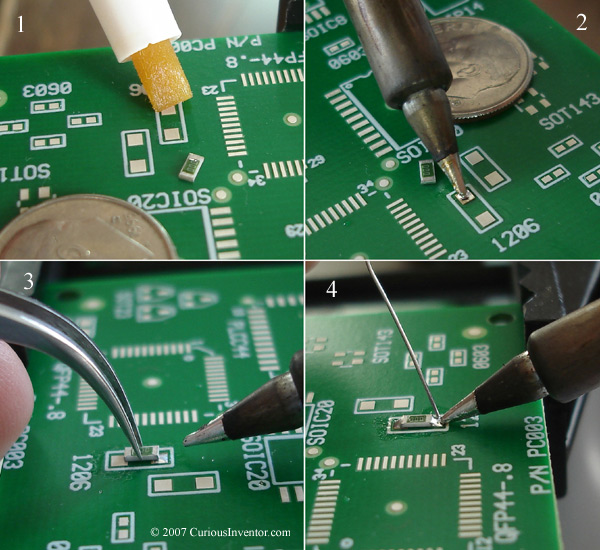
Being right-handed, I pre-solder all the right-hand pads on horizontal components and top pads on vertical components and then use the above method to fit all the SMT components.
A good solder joint, not too much solder For SOIC devices you again place it on its pads this time making sure that all the legs sit squarely on their pads. Press the centre of the device with the tweezers and solder 2 diagonally opposing pins. Double check that all the legs neatly line up on the pads on the pcb and that they don't bridge to an adjoining pad. When happy, carefully solder the other pins. For small SOIC’s like this I would suggest you try soldering each pin separately. Do this by keeping the amount of solder on the iron as small as possible. Clean the iron tip between every solder operation, this will minimize the build up of dirt and solder and allow you to maintain control over how much solder is being applied. If you do end up with a solder bridge between 2 legs then don't try using the iron to remove the excess, you will inevitably bend the legs, make it worse or cook the chip. Use a piece of solder-wick, place it over the solder bridge and then press the iron tip against the wick, you will see the solder flow in to the wick. Remove the iron and the wick, at the same time, making sure you move AWAY from the legs and not across them.
Once soldering is complete wash the board thoroughly to remove all traces of flux. Use a toothbrush and a suitable flux cleaner. |


© Copyright 2000. All rights reserved. Revised: December 9, 2023