Envelope
Generator's (VCF-EG & VCA-EG)
These are the same as the design in Modulus 8, these are
compact (needing only two chips) simple to use and fast.
MIDI to CV
Again Paul went for simplicity, with a little modification
to the scaling , you could use it to generate a CV/GATE
output for another 1V/Octave synthesiser.
Two DACs are used, U403 holds the NOTE CV, U402 the Velocity
CV and U406 has the GATE signal. When the main CPU writes
the NOTE value, the MSB is also the gate value (note data
on MIDI is only 7-bits wide).
VCA1 & VCA2
These again are based on a Modulus edition. The VCA uses
a CA3046, this is configured as a Gilbert Multiplier and
gives a superb SNR!
VCF
No secrets here, its a Moog Ladder clone. Giving 24dB/Octave
cut off slope. This was based on TomG's adaptation of
it and includes some modifications by Paul.
Wave Generator
Ok, now we start showing some secrets.
Essentially the wavegen is just an EPROM feeding a DAC,
nothing more. The secret here is the set of NAND gates
on the address lines. What these do is allow you to DROP
the resoloution from 256-bytes per cycle to 64-bytes per
cycle and hence give you a whole stack more harmonics
and aliasing.
Oscillator1 and Oscillator2
Some more secrets now, the oscillators. Again, nothing
too radical, The main oscillator is the ATtiny2313 micro,
This feeds a 4024 to allow octave selection. This, in
turn, feeds a 4040, Q0-Q7 give the 8-bit address needed
for the Waveform (Q0 is the clock into the 4040), Q8 gives
us the sub oscillator. Also the waveform selection latchs
are shown in these drawings. These 16-bits are then fed
to the wave-generator circuit.
CPU
Nothing too major here, you can see the main CPU, LCD
interface, Interface to Buttons and also MIDI. The MIDI
interface is fully MMA (http://www.midi.org/)
compliant. The LCD has been upgraded to a 2-line display.
U203 is the latch used for reading the buttons (to see
if they are pressed or not) as this PORT on the CPU is
used for other things it needed to have an output enable,
the NAND gate ensures that when you want to read it, it
latchs the data (positive going edge clock) and then enables
the outputs (active low enable), simplifing the interface
to the CPU.
ADC's
Here the ADC schematic is straight from the datasheet.
The ADCs are self clocking and the CPU just reads values
every so often from the ADCs internal latches.
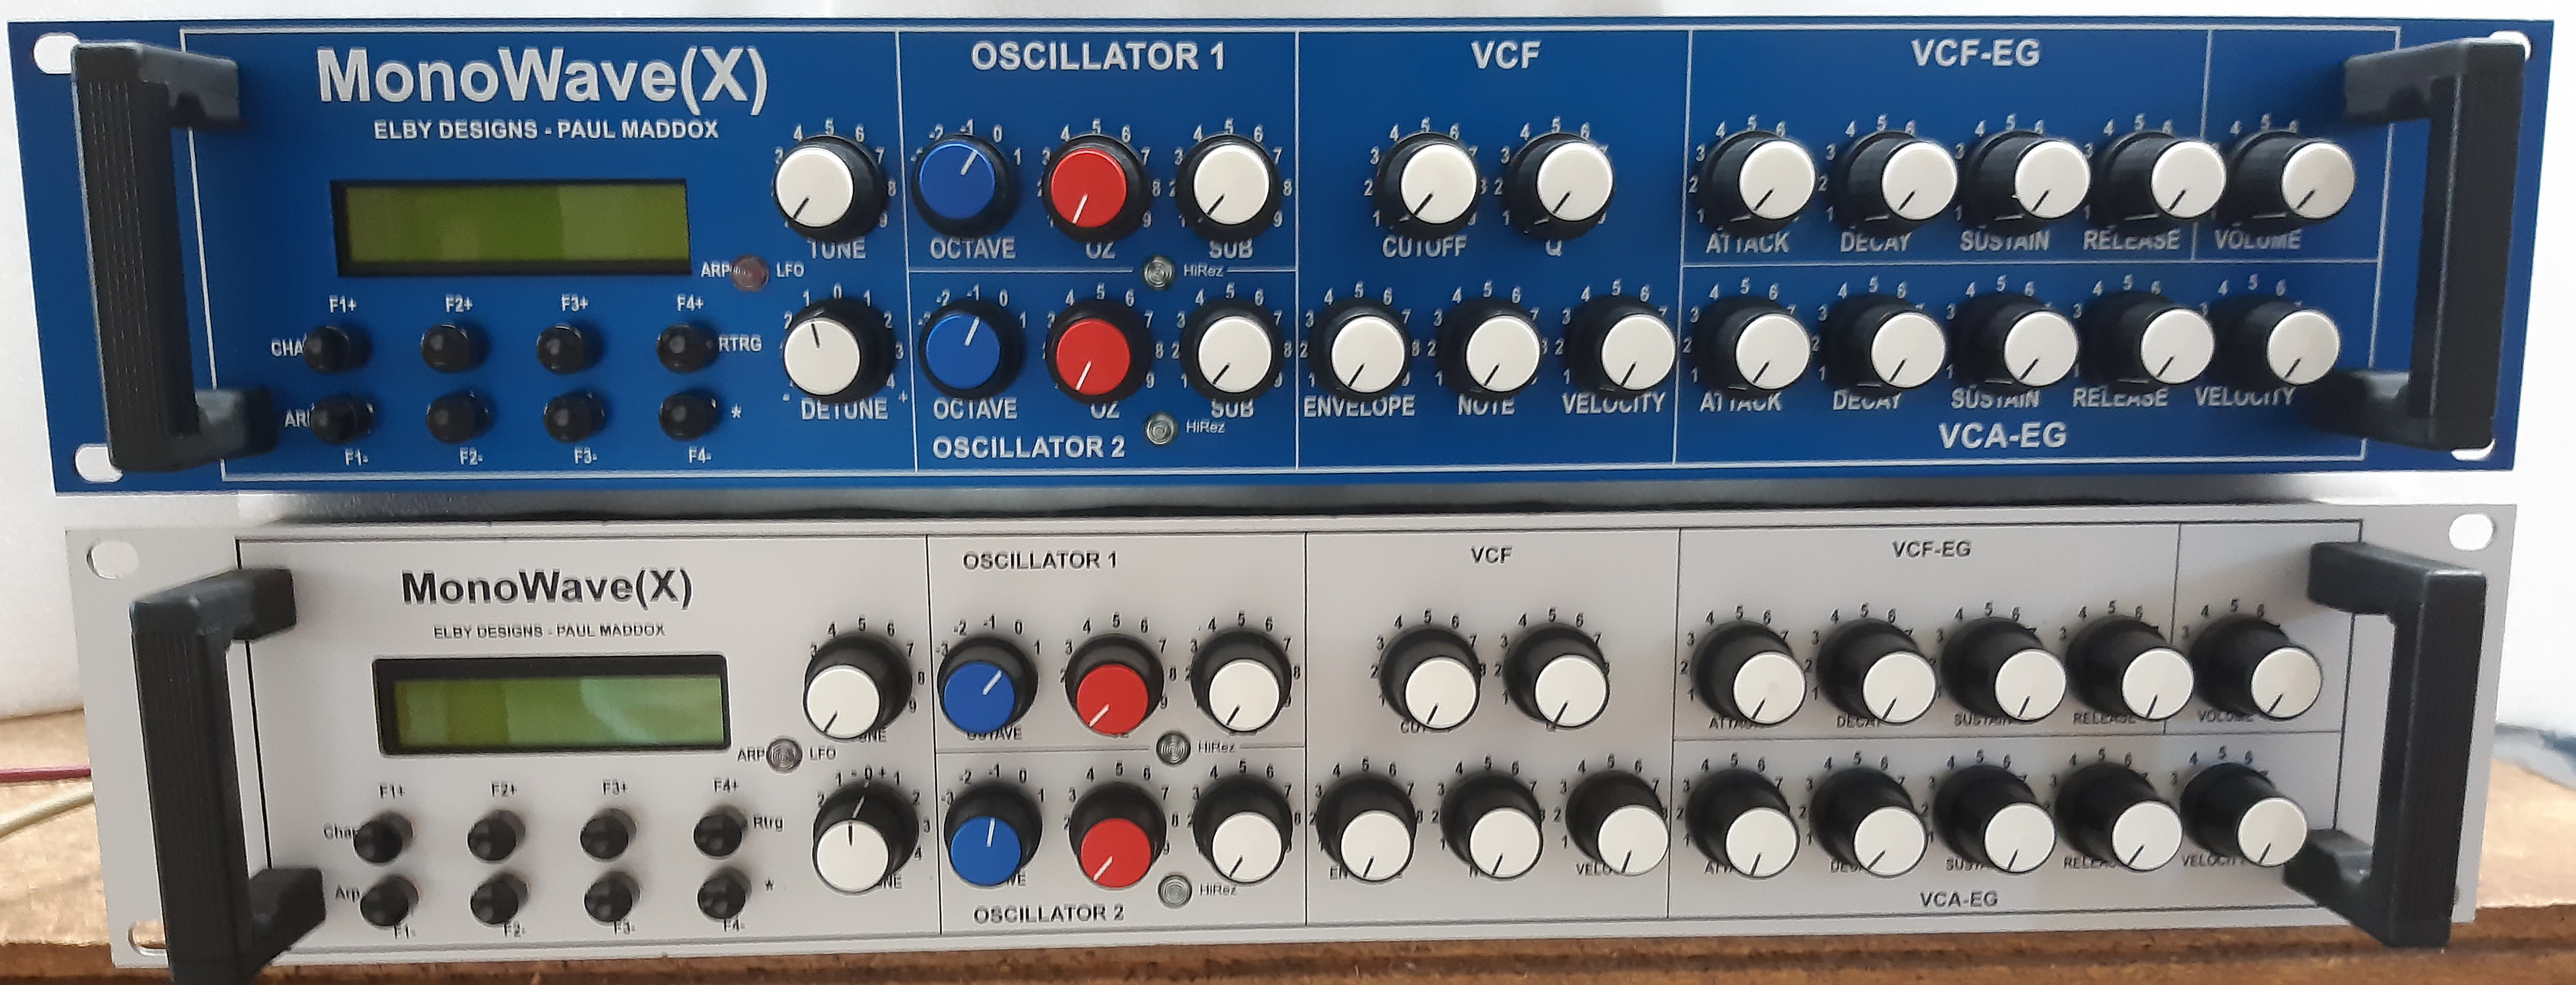
Front
Panel
Needless to say this is the human interface part. A single
pcb houses all the switches, pots, LEDs and LCD required
to interface with the MonoWave. A matching aluminium front
panel is now available to assist constructors with completeing
their unit. Both the Front Panel pcb and Front Panel are
optional allowing customers to design and construct their
own version of the MonoWave(X).
Power
Supply
The MonoWave(X) requires an external well regulated
+15VDC supply (rear panel marking incorrectly shows 18VDC) rated to 400mA. Internally the MonoWave(X) runs from a +/-12V supply.
Interconnect
Only
3 ribbon cables are required to complete the construction
of the MonoWave(X). |