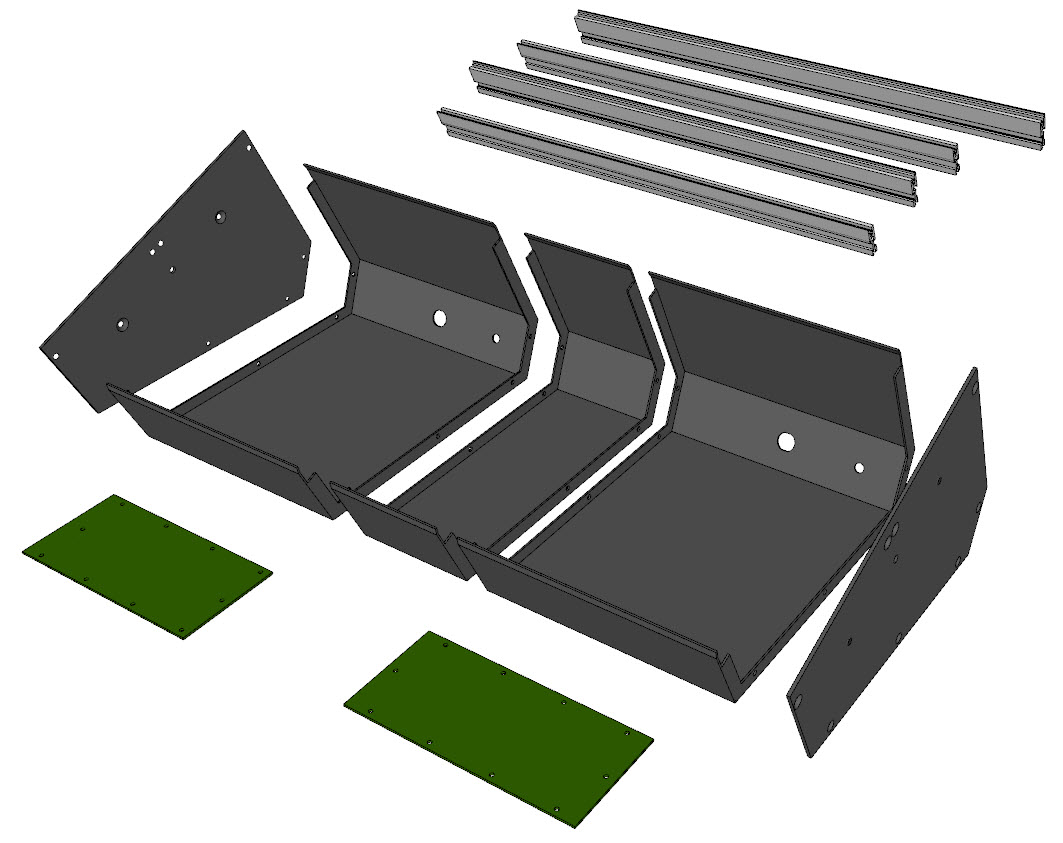
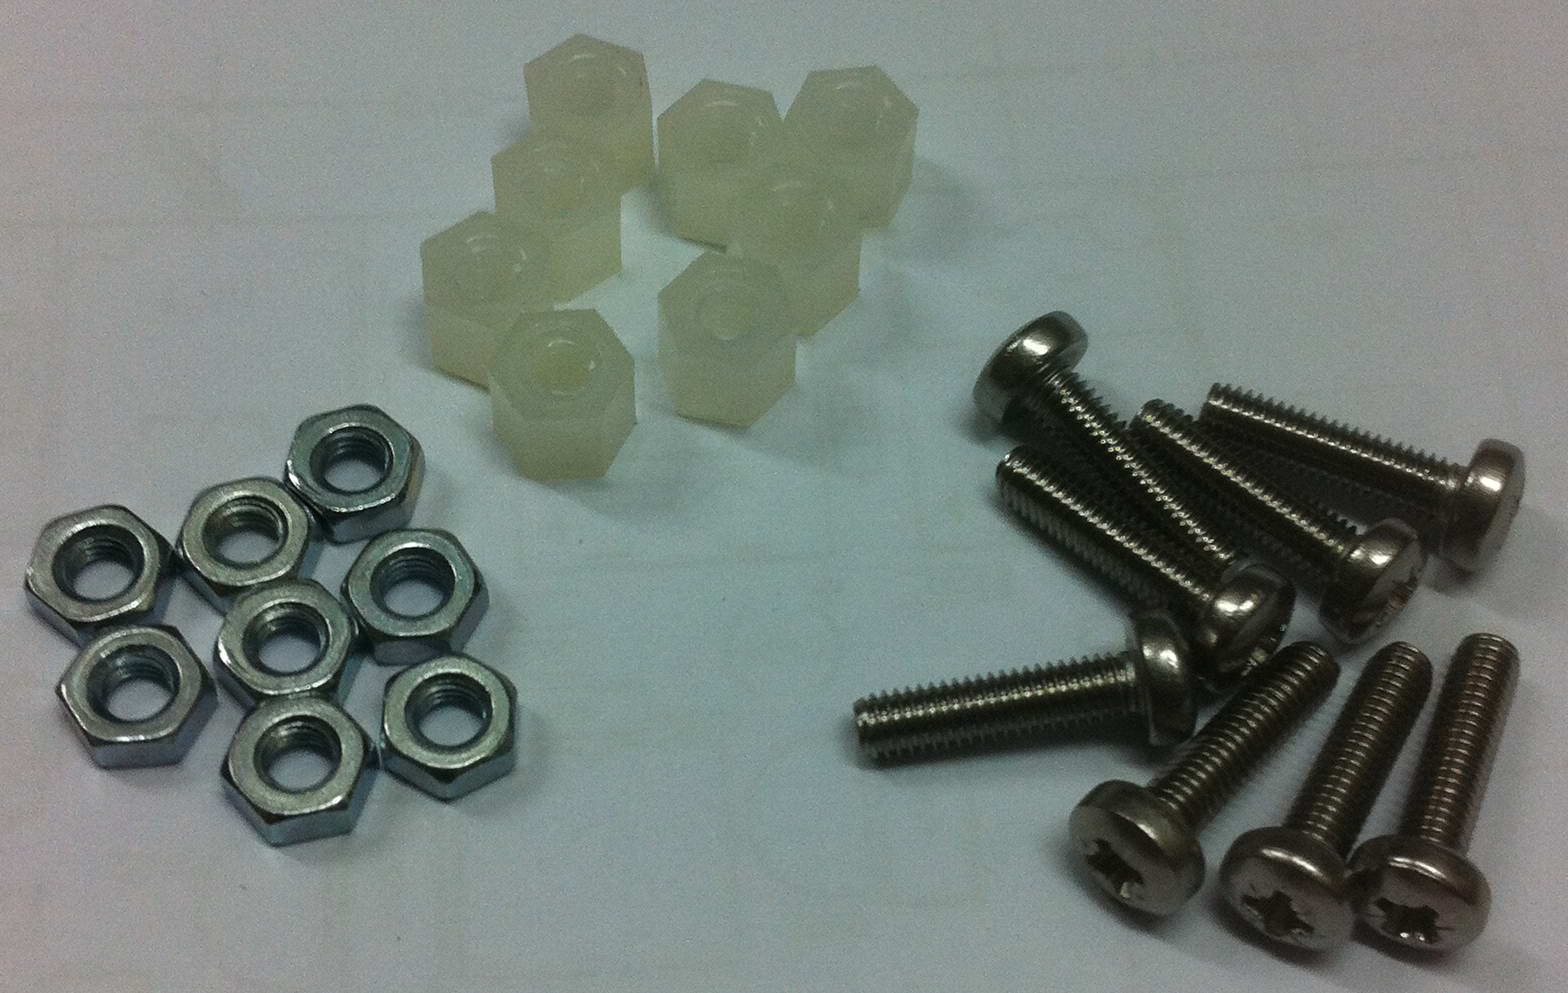
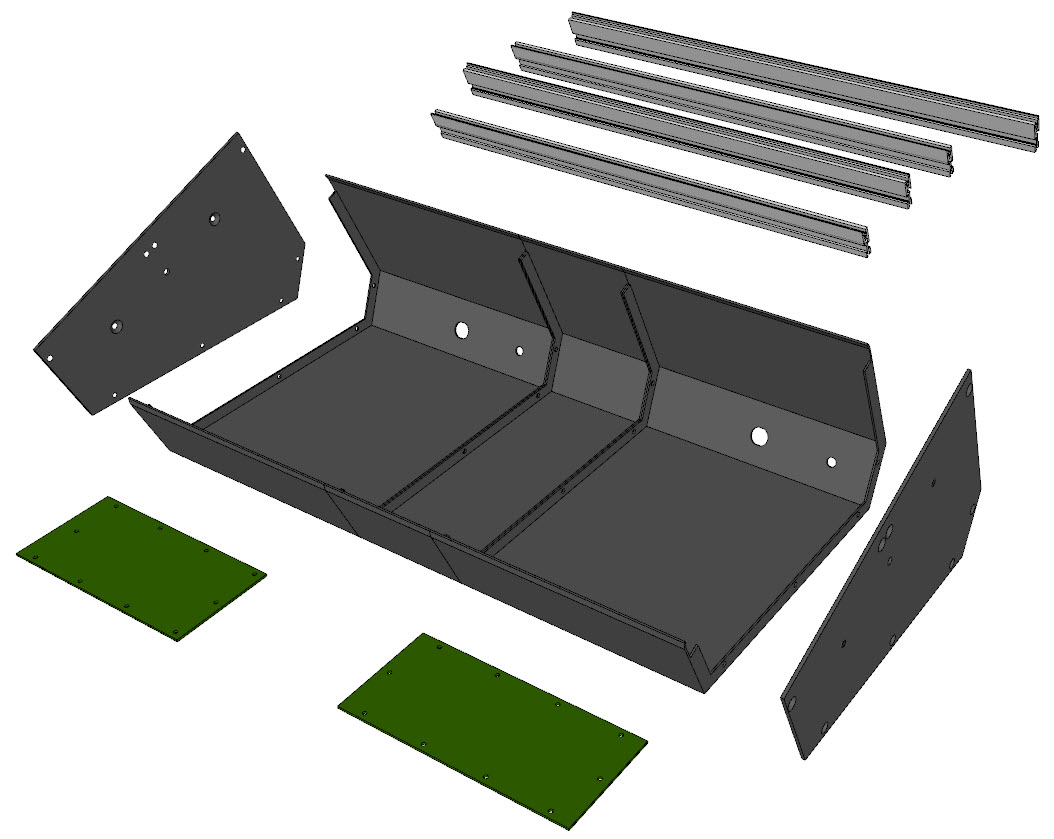
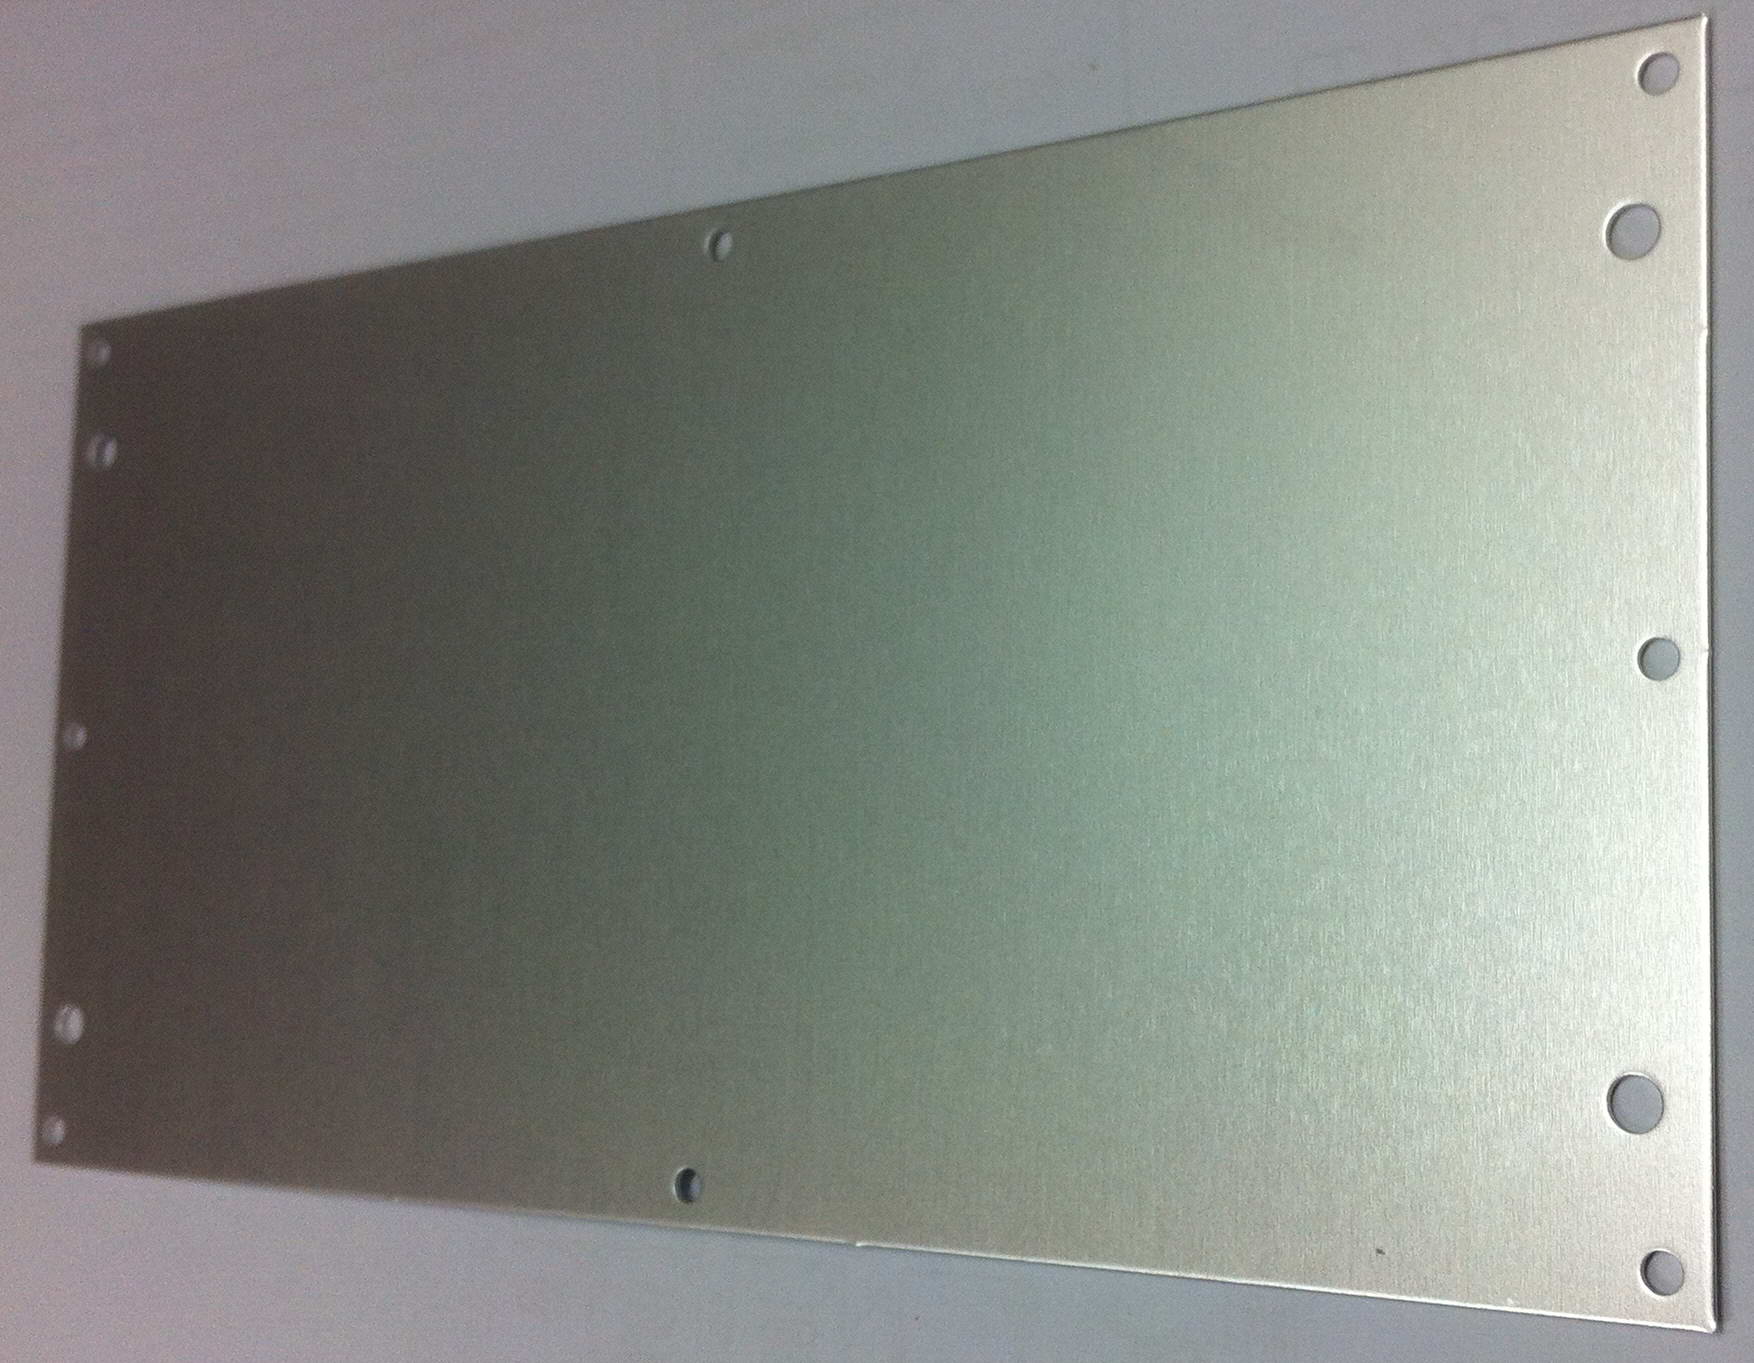
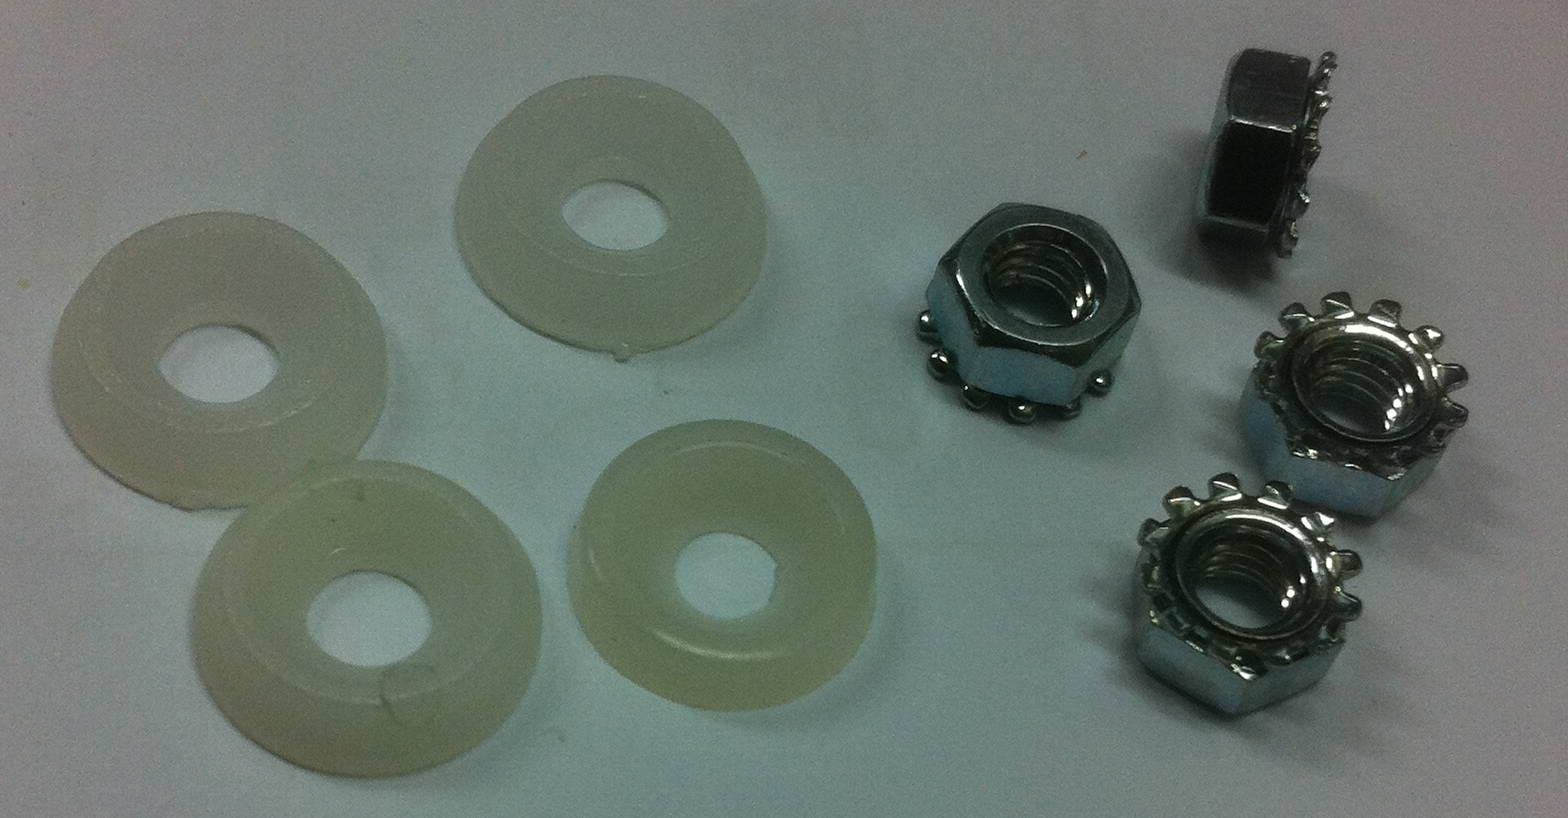
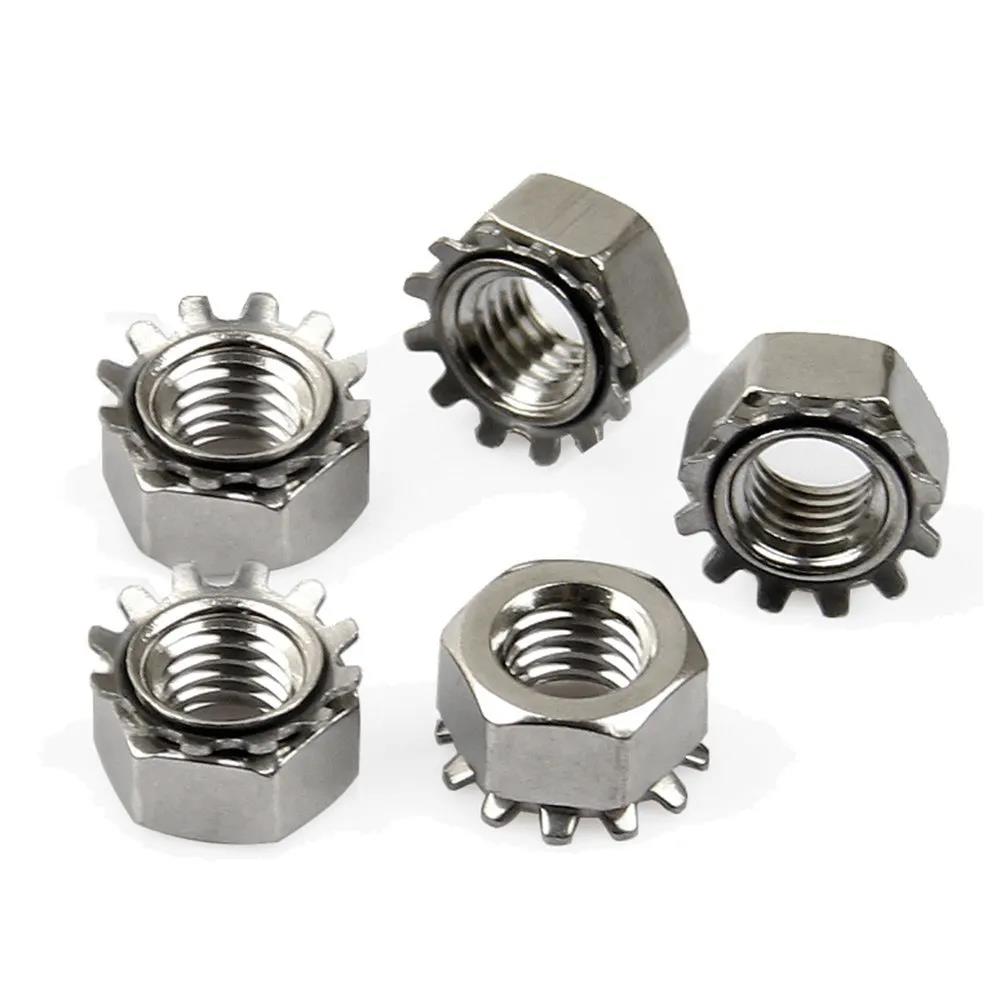
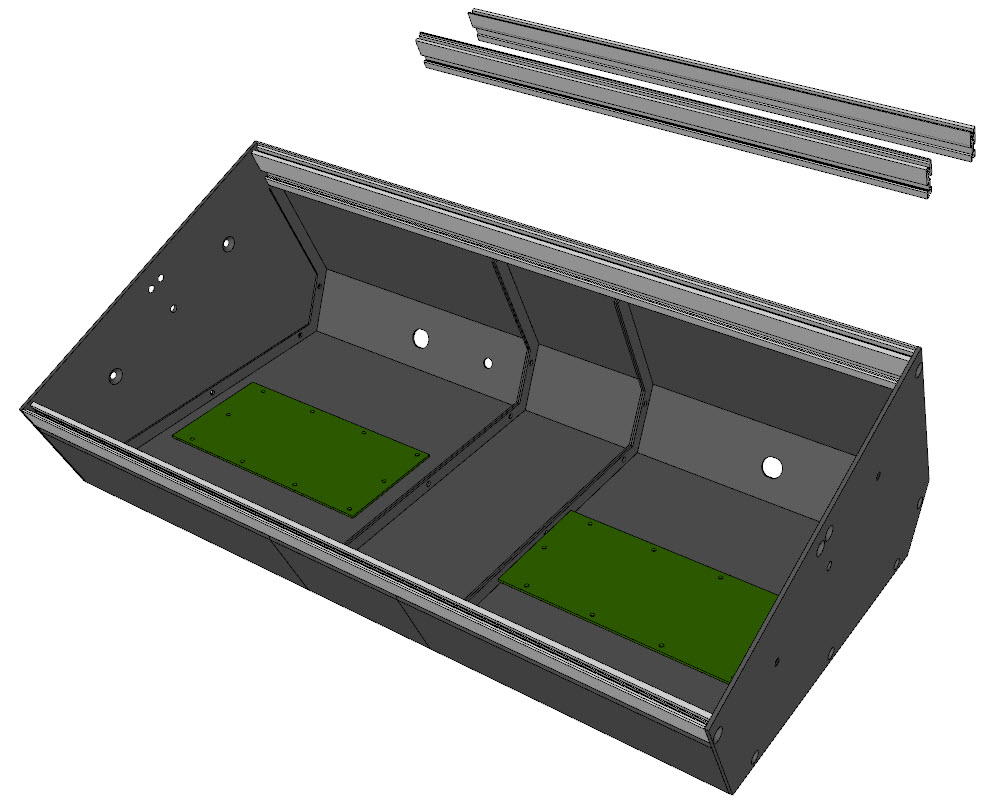
Check that you have all the parts as per Figure 1. Depending on your chosen configuration you may have more or less skins and may or may not have any 20HP skins. In addition to these main parts you will have a selection of nuts, bolts and spacers (refer to the relevant Bill of Materials for a full list of all parts).
Start by bolting the skins together using M4x 8mm pan-head bolts. These bolts are fitted at the left-hand side of each skin and are inserted from the skin to its right.
For configurations using a 20HP skin we recommend it be placed centrally to the case to provide better distribution of the busboard power module connectors.
We recommend fitting the busboards at this stage while you still have easy access to the inside of the case.
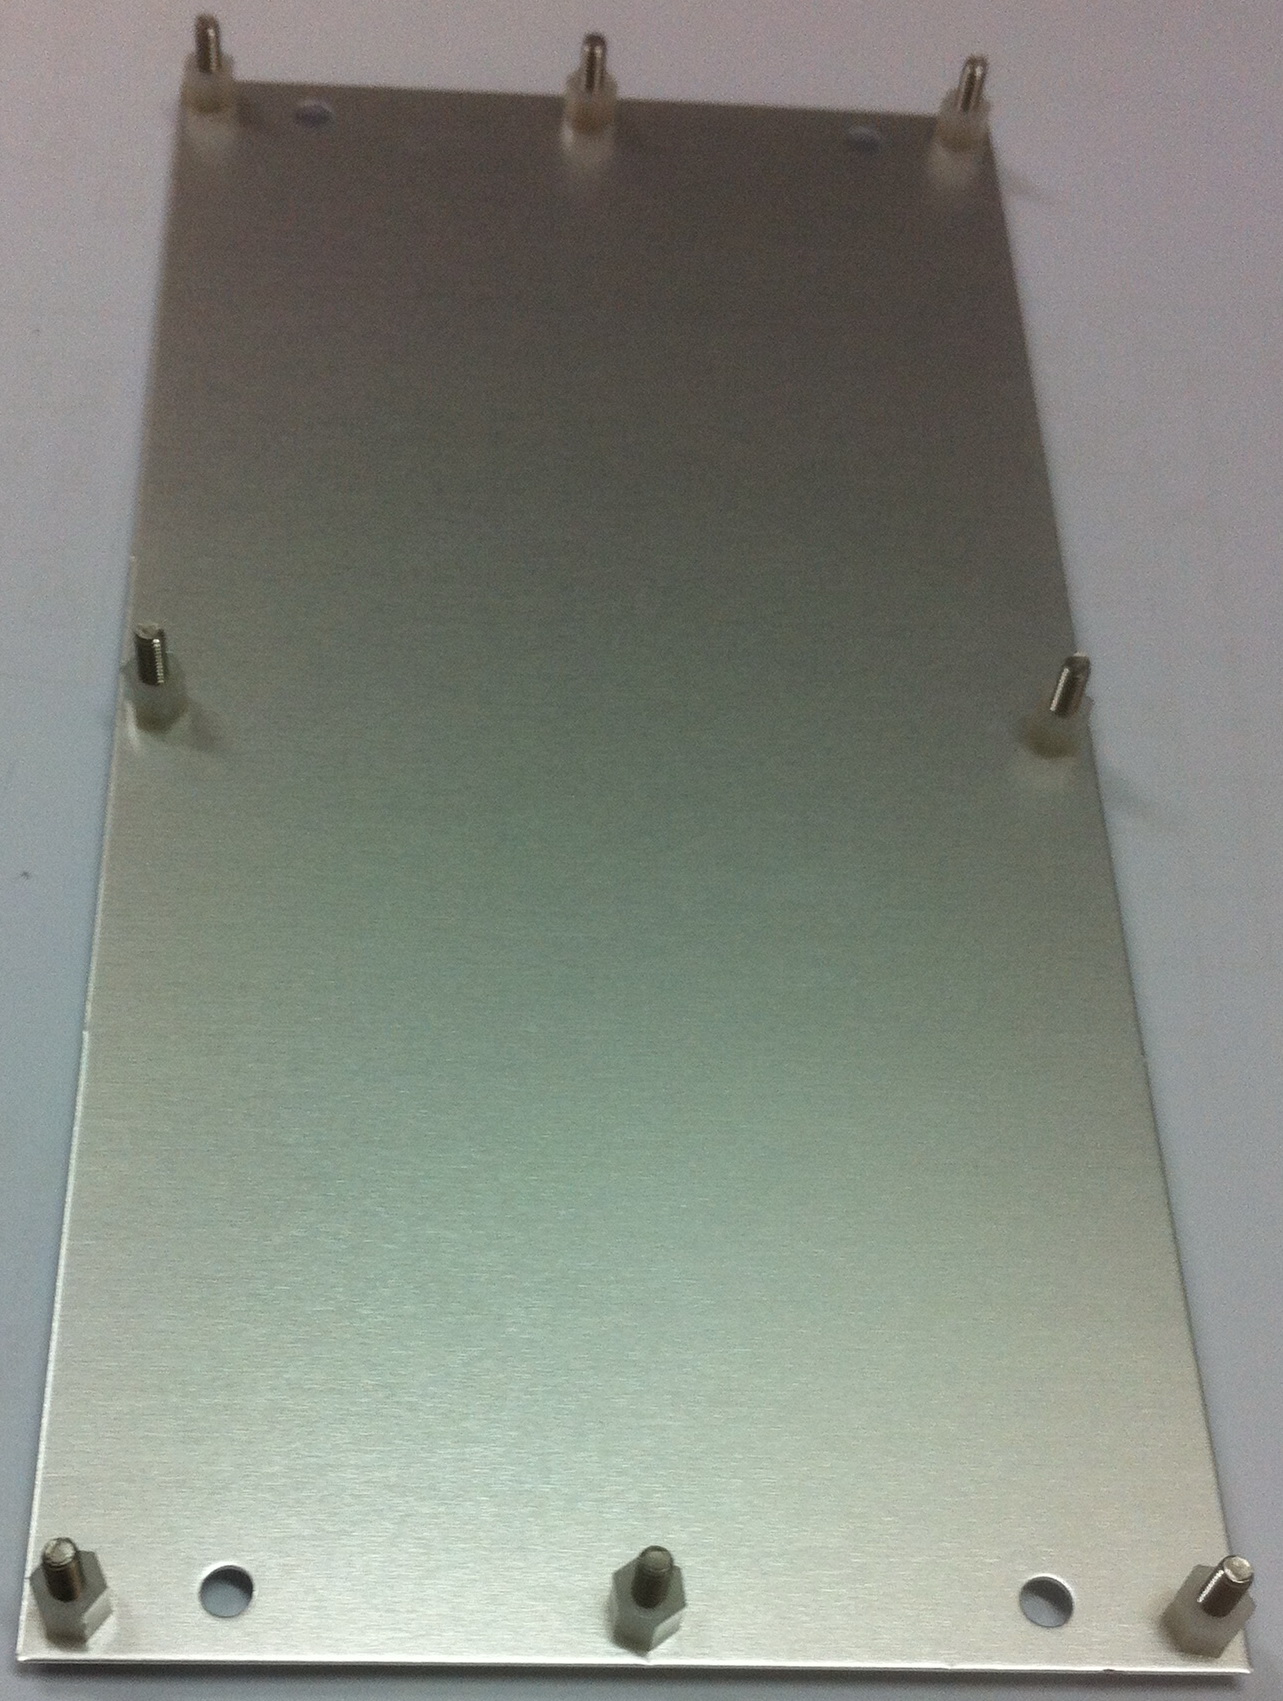
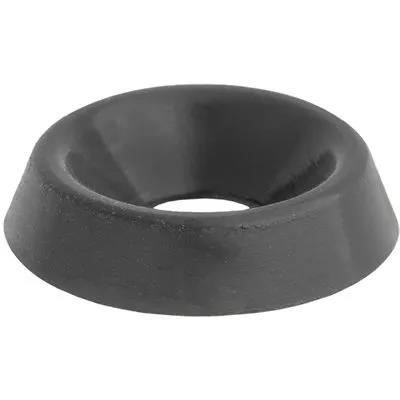
Start by fitting 8x M3x12mm SEM bolts to the Busboard Carrier Plate and secure using M3x5mm nylon spacers as shown here. Install 4x M4 cup washers for each busboard. The washers are cupped on one side and this side should be placed face down so that the larger flat surface remains facing up.
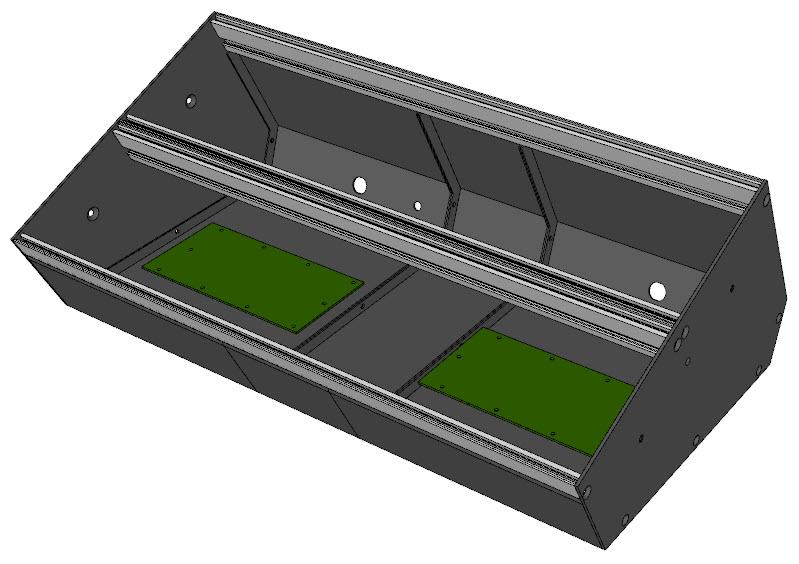
Mount the Busboard Carrier Assembly into the skins and secure using the M4 Nut Washers.
Mount the busboard onto the Busboard Carrier Assembly and secure using 8x M3 Nuts.
Install all cabling for the busboards.
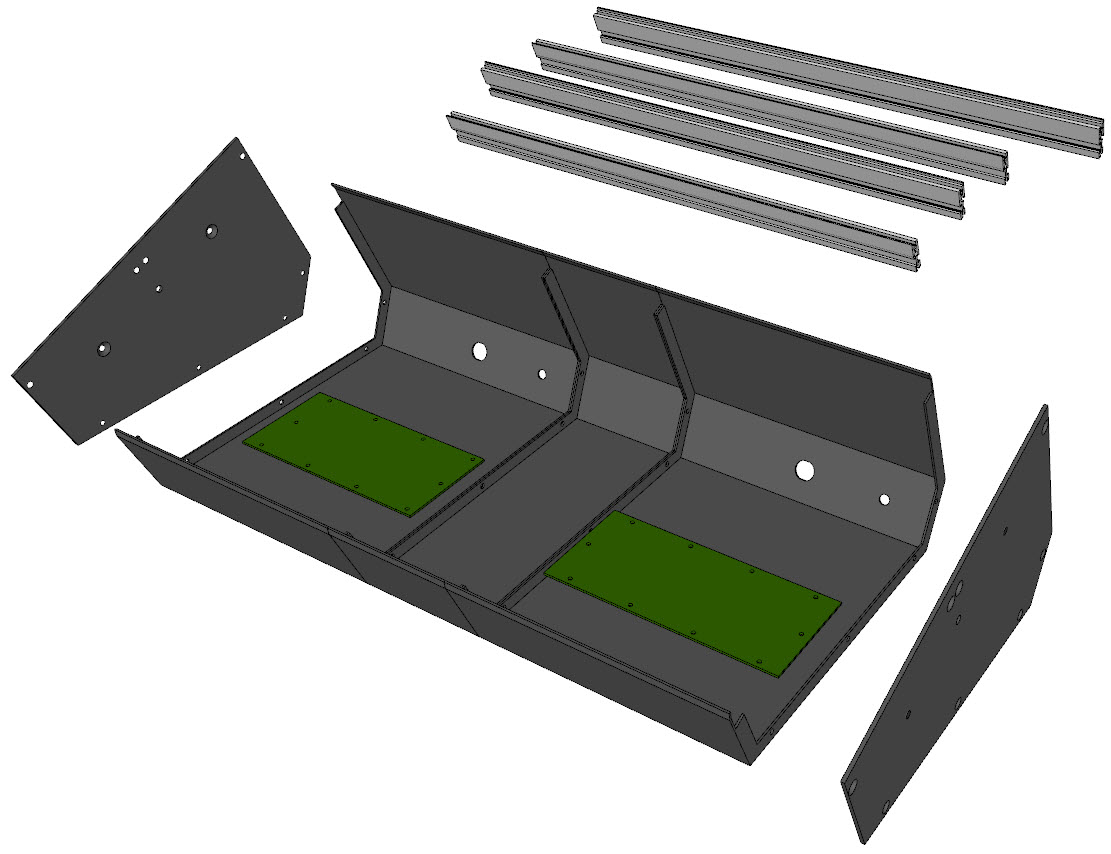
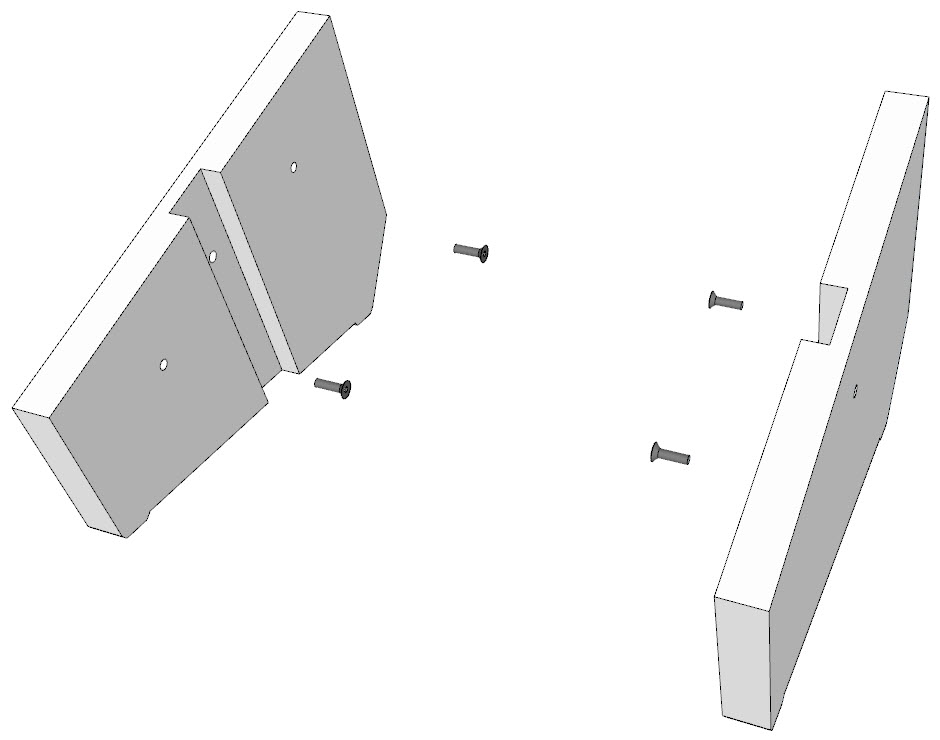
Attach one of the End Plates using M4x6mm countersunk bolts:-
Install the 2 outer rails and secure to the End Plate using M5x10mm countersunk bolts:-
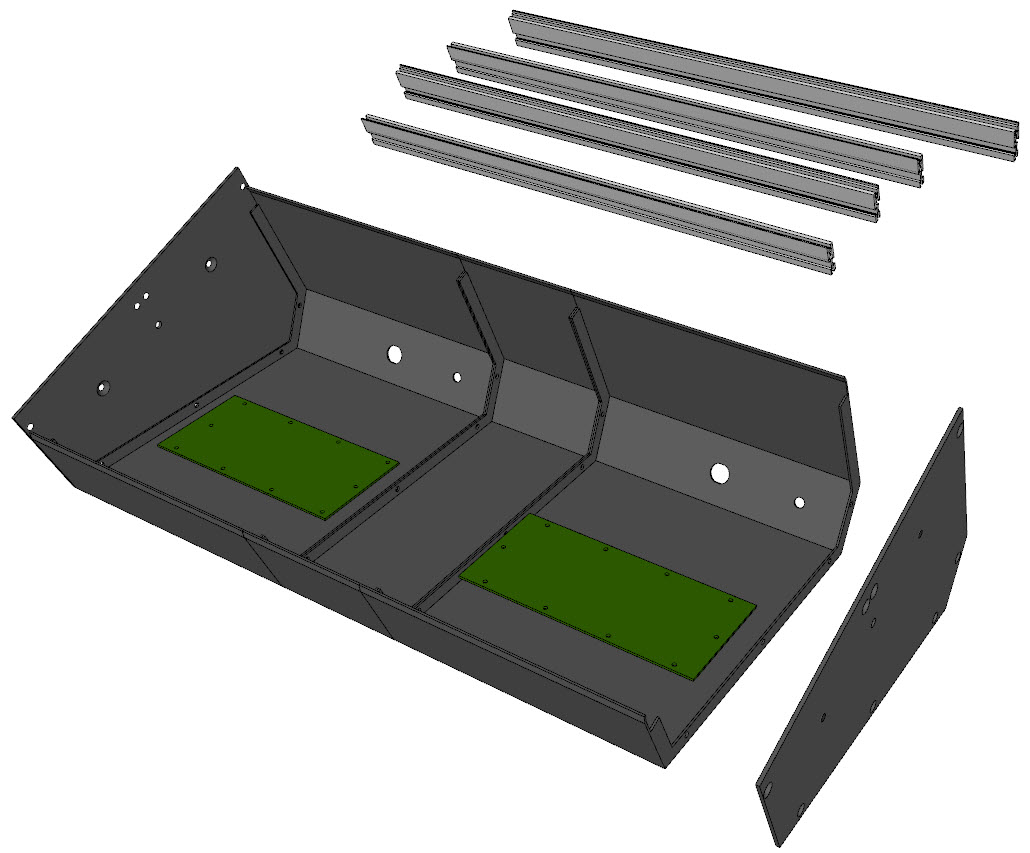
Loosely attach the other End Plate:-
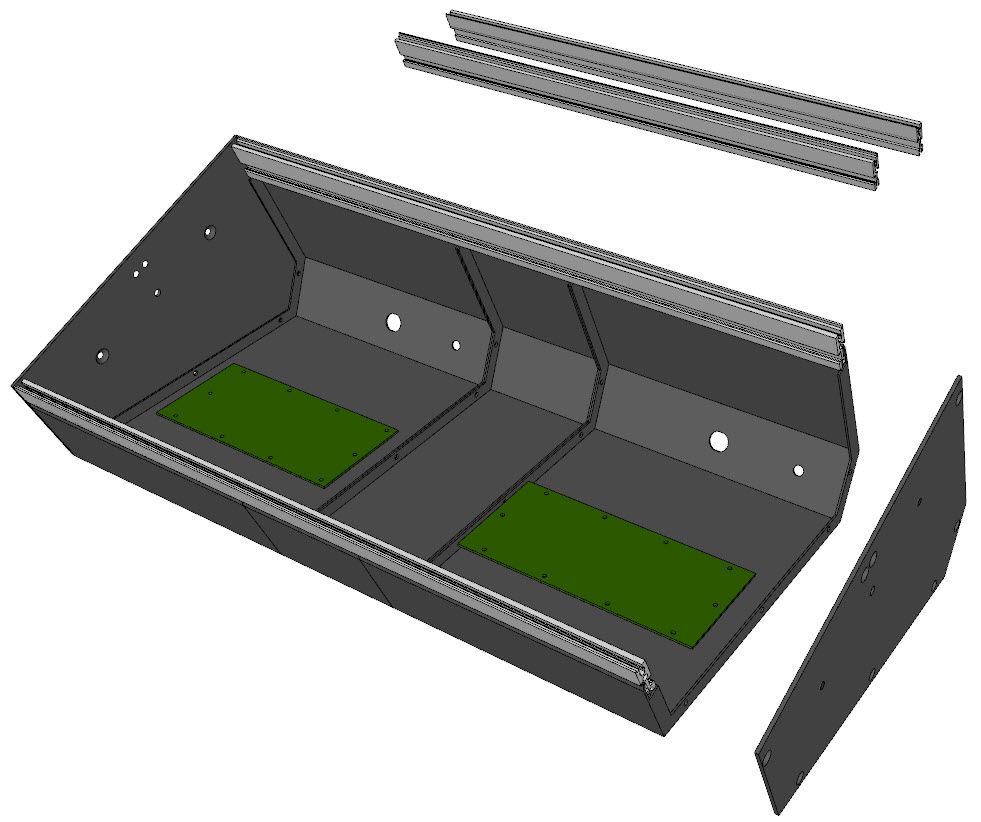
Insert the 2 centre rails ensuring that the rail ends touch the End Plate and are nestled against the half-shears:-
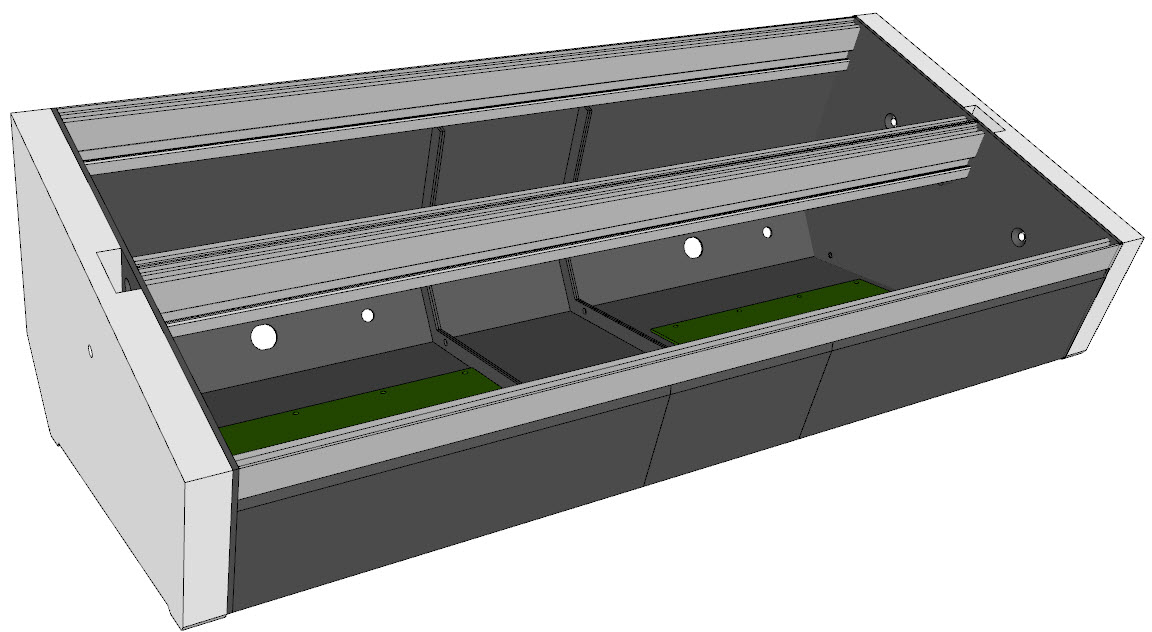
and then fully tighten all screws ensuring that all rails are correctly aligned.
If using our End Cheeks then fit them now using M6x16mm countersunk bolts:-