 |

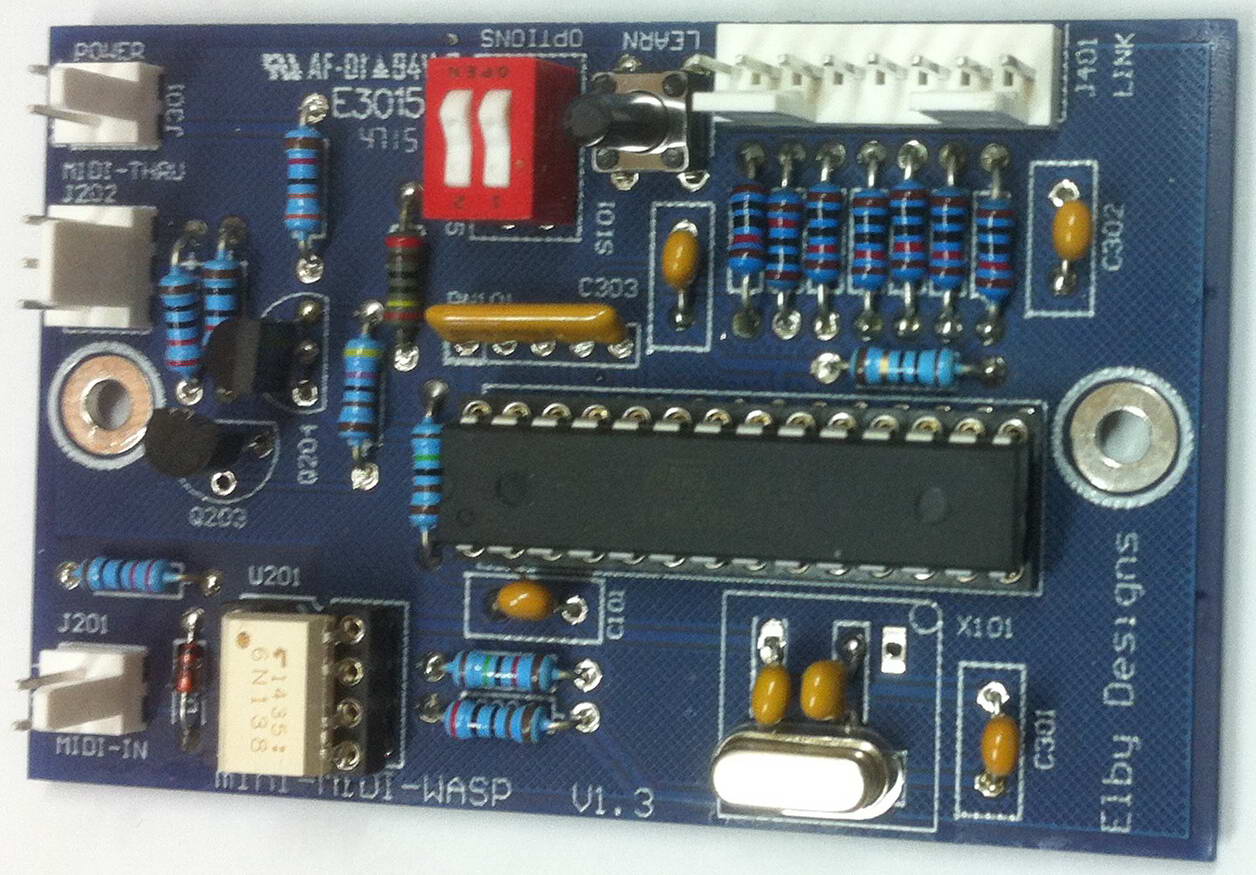 |
The miniMIDI-WASP Interface Unit lets you control your WASP, GNAT or any other EDP LINK compatible device from any suitable MIDI controller such as a PC, MIDI Keyboard or MIDI Sequencer. The LEARN button allows the miniMIDI-WASP to be assigned to a MIDI channel. To assign the MIDI Channel, press the LEARN switch for approximately 1 second. release it and then play a note with the required MIDI Channel assignment. This will be stored in memory and will be recalled at each power on. To restore the factory default of MIDI Channel 1, press and hold the LEARN switch, turn on the miniMIDI-WASP, release the LEARN switch. 2 on-board switches allow selection of the keyboard range by defining the MIDI Note value for Bottom C (assumes Middle C = Octave 4):-
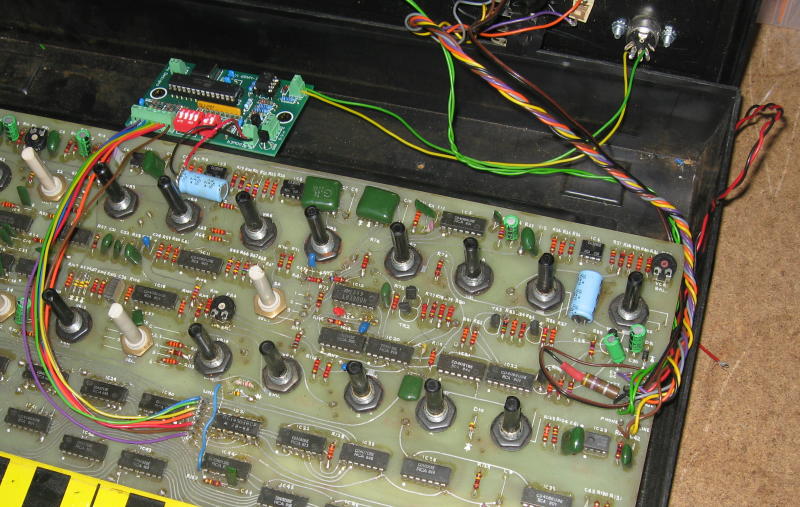
This unit is also available fully assembled and tested. The miniMIDI-WASP board will fit neatly in to the space at the rear of the WASP as can be seen in the picture below.
Power for the miniMIDI-WASP is, typically, derived from the host units supply.
|
|
© Copyright 2000. All rights reserved. Revised: January 10, 2024